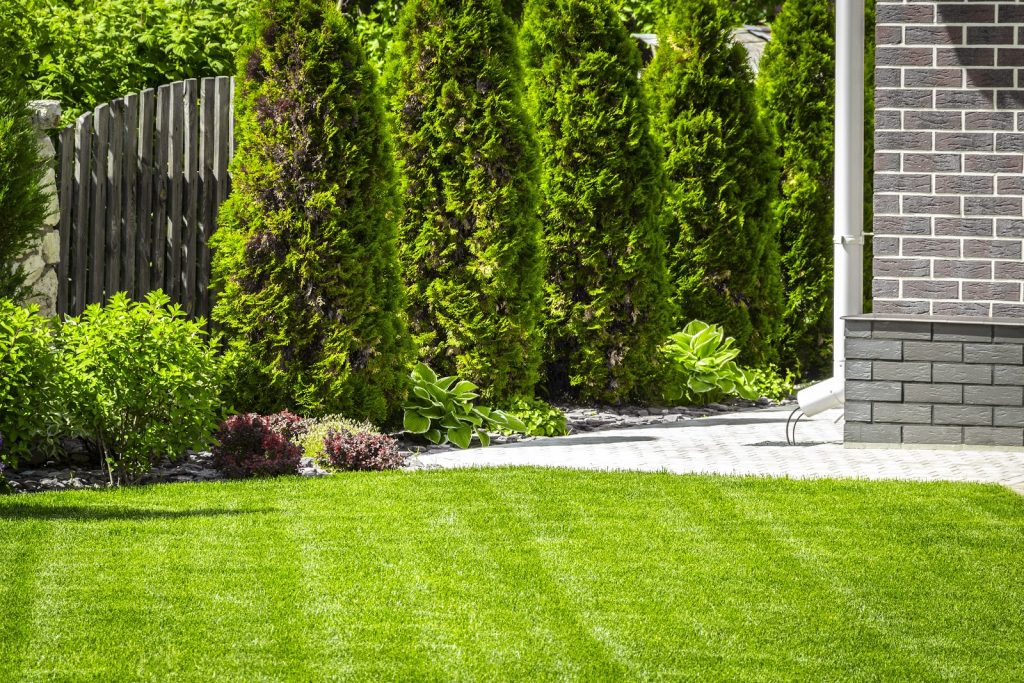
We get it, having the best lawn on the block is a point of pride, it’s part of your identity! We’re here to help you make all your neighbors green with jealousy (but obviously not as green as your perfect lawn will be).
Don’t fly by the seat of your plants…
Just like it took you some time and research to come up with your prize-winning chili recipe, creating the perfect lawn will require a bit of work. There are two popular methods of lawn establishment: Sod (pre-grown grass) and Seed.
We’ll walk you through some of the pros and cons of each and help you decide which method works best for you.
After that, we’ll break down how to DIY sod or DIY hydroseed your yard and have you well on your way to being the proud owner of the best lawn on the block before summer hits.
Sodding your yard means that instead of establishing your lawn from seeds, you have transplanted a bed of already-grown grass. The transplanted bed of grass includes a thin layer of soil and roots. Once planted in the new location, the roots take hold.
As you can guess, placing already established grass is a faster process than planting from scratch, but sod does offer some other benefits.
While sod offers a lot of benefits — mainly efficiency — it also has its flaws, so before you get rolling, read on.
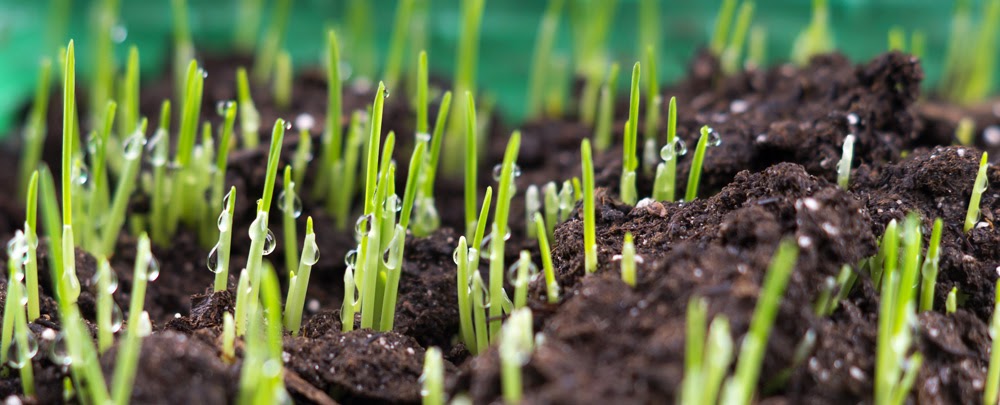
If after reading those cons you’ve decided you have a need for seed, we’ve got you covered. Hydroseeding is an excellent alternative to sod. While you might have to get your hands dirty, your affordable, beautiful lawn will be worth it.
When you start with seeds, you can control each step of the grass growing process. Sound like too much work? Don’t worry, the Superior team is here for you. We can ensure your hydroseeding process is done right from step one to your first barbeque in your lovely backyard.
We have a full article on Hydroseeding 101.
Here’s a snippet:
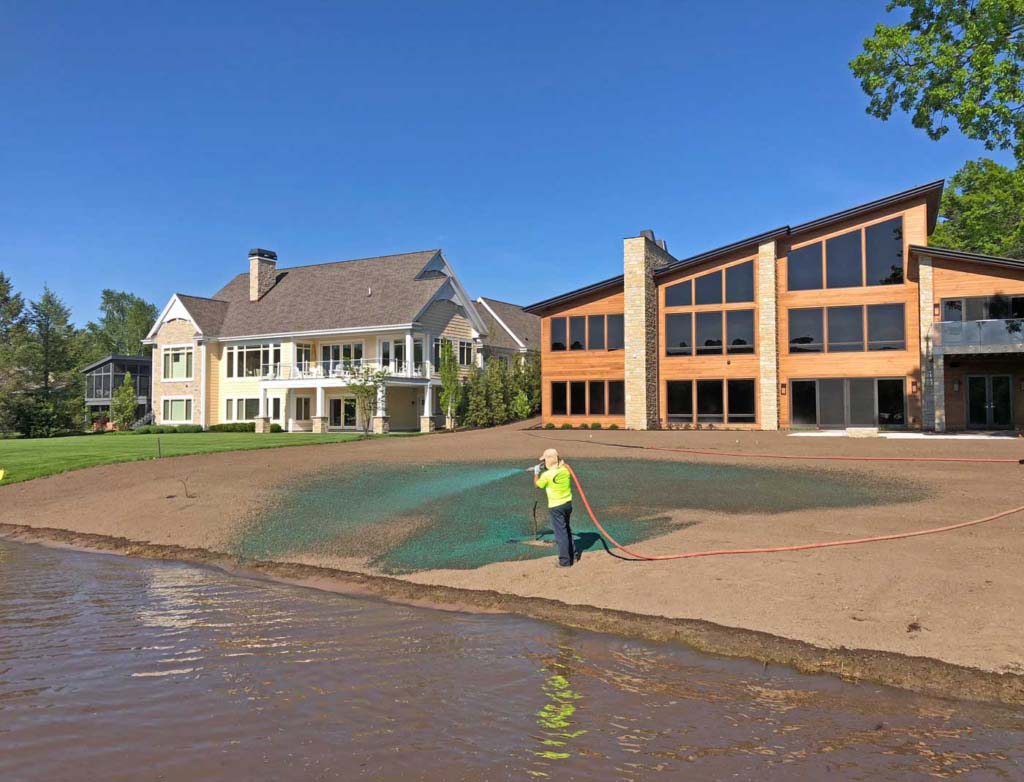
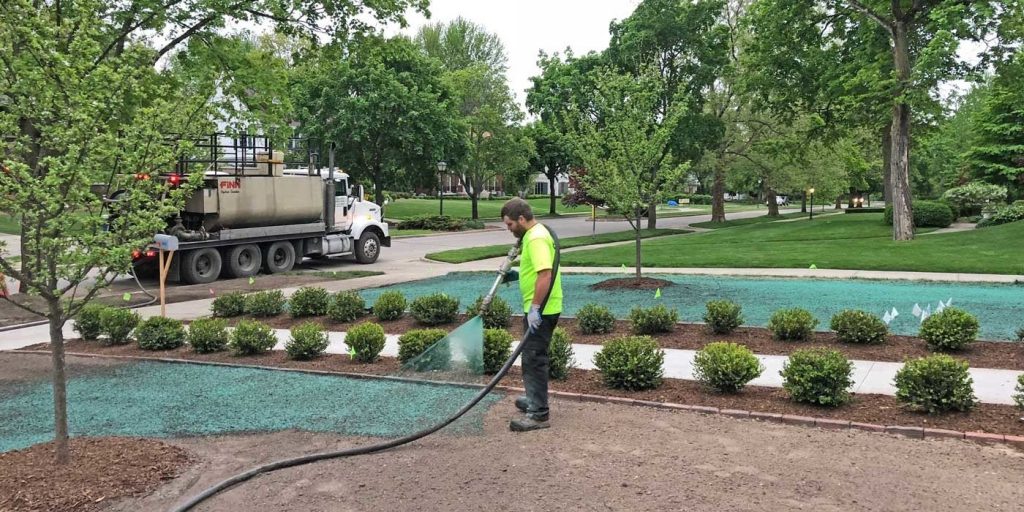
“Simply, it’s an efficient, high quality, and inexpensive method of seeding a lawn. Technically, it’s the process of combining a mixture called a “slurry” (seed, mulch, fertilizer, soil amendments, and water) in a Hydroseeder tank, and then applying that mixture to the intended surface using high pressure. The hydroseeder keeps the slurry evenly mixed.”
You can also watch our Hydroseeding 101 video.
Both sod and hydroseed are great options for establishing your lawn. The decision really comes down to two factors: time and money. If you want to save and are willing to wait a bit longer, hydroseeding is a no brainer. If you’re in a hurry and don’t mind paying a bit more, sod might be better for you.
Hydroseeding is much less expensive than installing sod.
According to HomeAdvisor:
“Hydroseeding costs an average of $1,000 for a 5,000-10,000 square foot lawn, though homeowners could pay anywhere from $500 to $4,000 depending on the size of their yard and quality of the mix. This is not a cost-effective DIY project due to the cost of purchasing or renting the specialty hose and spraying machine needed.”
On average the cost of materials to hydroseed is between $100 and $500 and labor costs between $400 and $1,300. The average total hydroseeding cost is around $850. In contrast, sod costs between $170 and $380 with installation costs ranging from $1,000 to $2,500. The average cost of sodding is around $1,800.
You can get a hydroseed quote from our team easily.
Select the sod best-suited for your property. Make sure to take into consideration the amount of light, temperature, and moisture.
Measure the area. You will need to measure out the area you’d like to sod. Multiply the length and width of the area to get the needed square footage of product. Keep in mind the area covered by driveways, sidewalks, and buildings.
To begin preparing the site, first you will need to grade the area. Grading is necessary to ensure that the yard slopes away from buildings. This prevents drainage issues. To grade the area, first remove any plants, twigs, rocks, etc. Next, till the soil to 4 — 6 inches deep. Then smooth the soil and check again for any vegetation or other remnants.
Optionally, conduct a soil test to measure the pH of the soil and understand what amendments may be required.
After tilling, water the area pretty heavily. Watch for puddles in lower areas. If pooling occurs, add more soil or grade the area to prevent low areas.
Next, add in fertilizer and other amendments based on soil type.
Now it’s time to schedule your sod delivery. It’s important to install the sod right after it’s delivered.
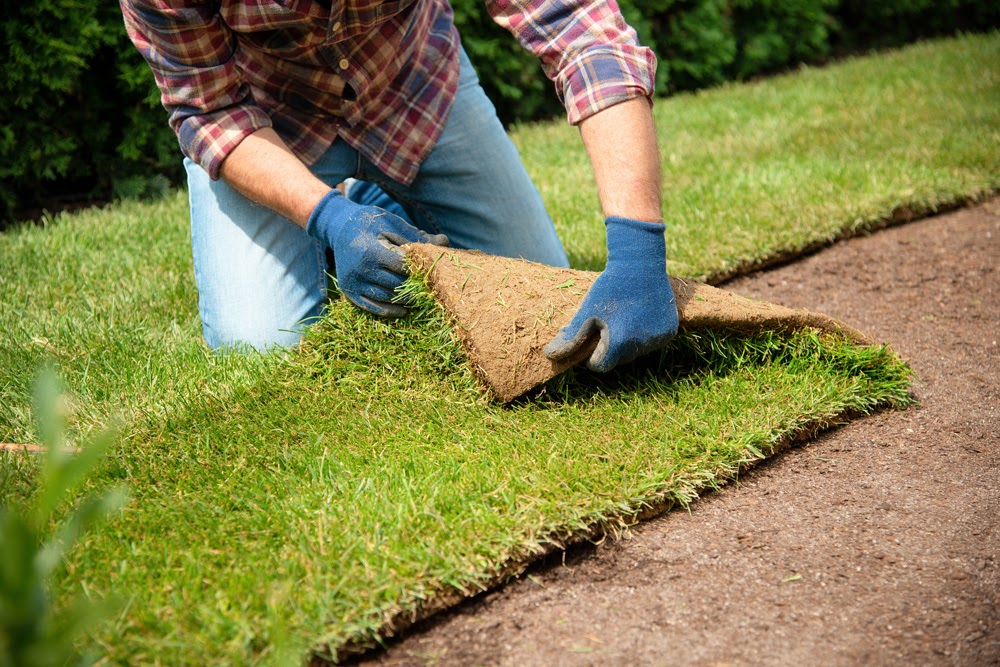
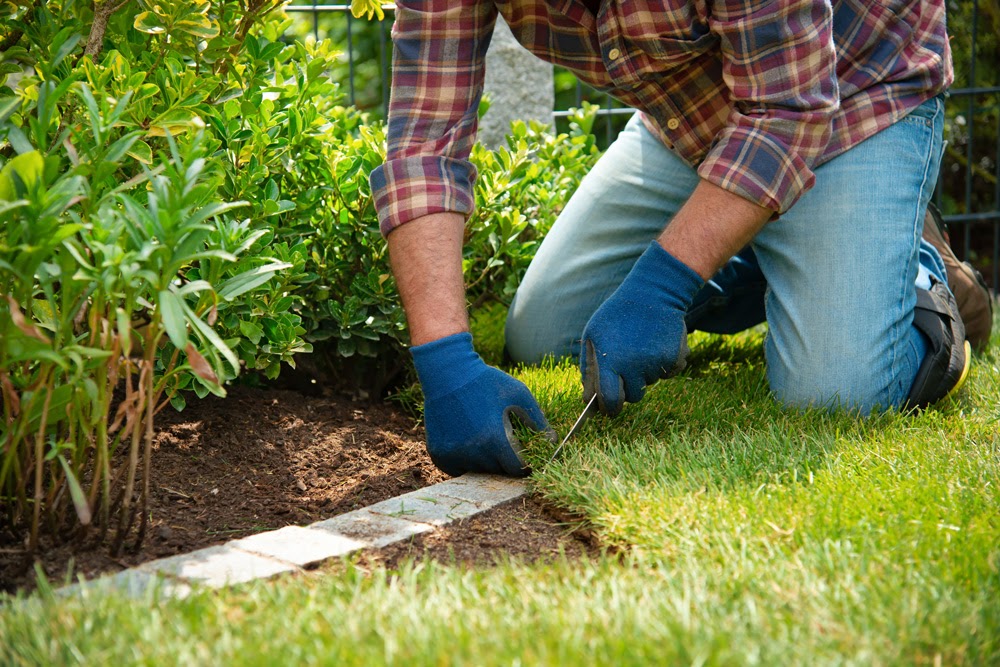
You are ready to install the sod. Start by watering the soil. Next, lay the sod. If it’s hot outside, keep your sod in the shade until you install it to prevent it from dying.
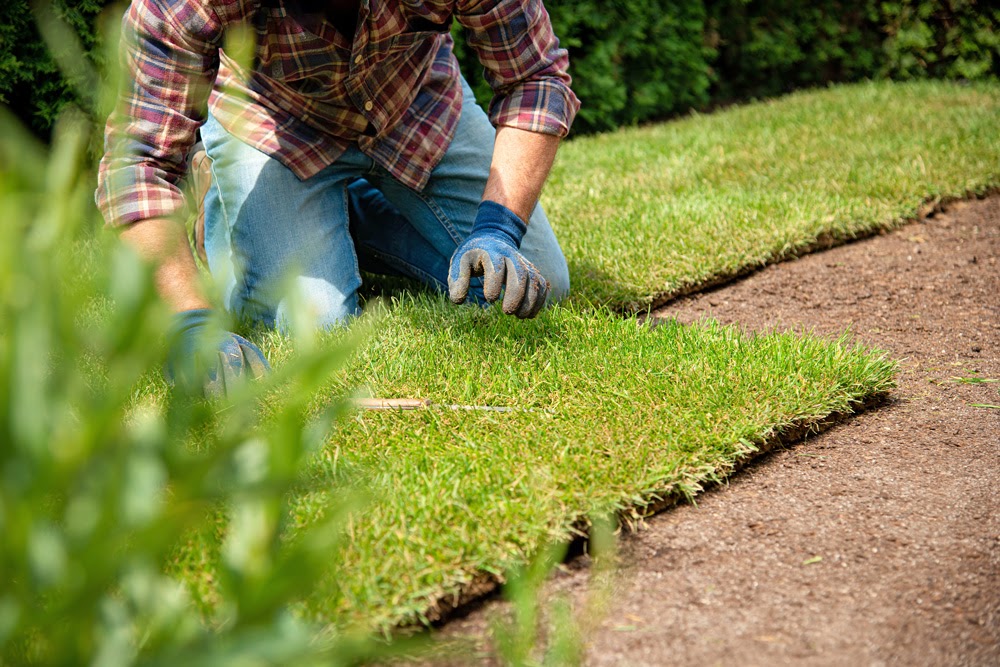
Start by laying the longest, straight line. This could be along a driveway or sidewalk. Make sure to lay pieces very close together and stretch them if necessary. Make sure not to leave any gaps or overlap. Use a knife to trim excess sod.
When sodding slopes, lay the sod perpendicularly to the slope. After you have installed the sod, tamp down the whole area to get rid of air underneath the sod.
After installation, make sure to water the new lawn within 30 minutes. Continue to water the lawn at least once per day for at least two weeks. This will help your lawn build stronger root systems. After the lawn has rooted, water less frequently for longer periods. Keep an eye on the weather as rain will affect the amount of watering you need to do.
Once your lawn is fully rooted and cannot be displaced by a lawn mower, it’s time to mow.
As you can see, DIY sod installation is no walk in the park. It takes research, time, and physical effort; and, if done incorrectly, will lead to a failed lawn. If you do decide sod is the way to go, make sure you know what you’re in for, or consult a professional team.
Ready to get growin’? Hydroseeding can be done DIY, but is just as tough — if not tougher — than installing sod DIY. This is because there is specific equipment required. You can make the equipment yourself, but that is another added cost and added time on your part.
First, check your local hardware store. They may carry a DIY hydroseeding kit that includes a seed mixture as well as an easy-spray canister. If not, you can make your own.
Your hydroseeding equipment will need to include a holding tank and a pump (you could use a hose) that can spray your mixture. There are some ideas for building your own sprayer on Pinterest. Keep in mind that DIY sprayers are not as efficient as professional equipment.
If homemade just isn’t cutting it, you can check if any local stores offer rentals. Typically sprayers rent for around $300/day.
Hydroseeding works because of the mixture of ingredients including grass seeds, mulch, fertilizer, soil amendments, and water. Each component differs based on your climate and your site composition. Different types of grass seed perform better in shade versus light, etc. You will need to do some research to make sure you’re selecting the right type of seed and the right type of mulch. You will also need to do a soil test to determine which amendments might be required.
In the Midwest, Kentucky Bluegrass is a popular seed choice. For more guidance on this, check out Michigan State University’s guide to hydroseeding in the Michigan climate.
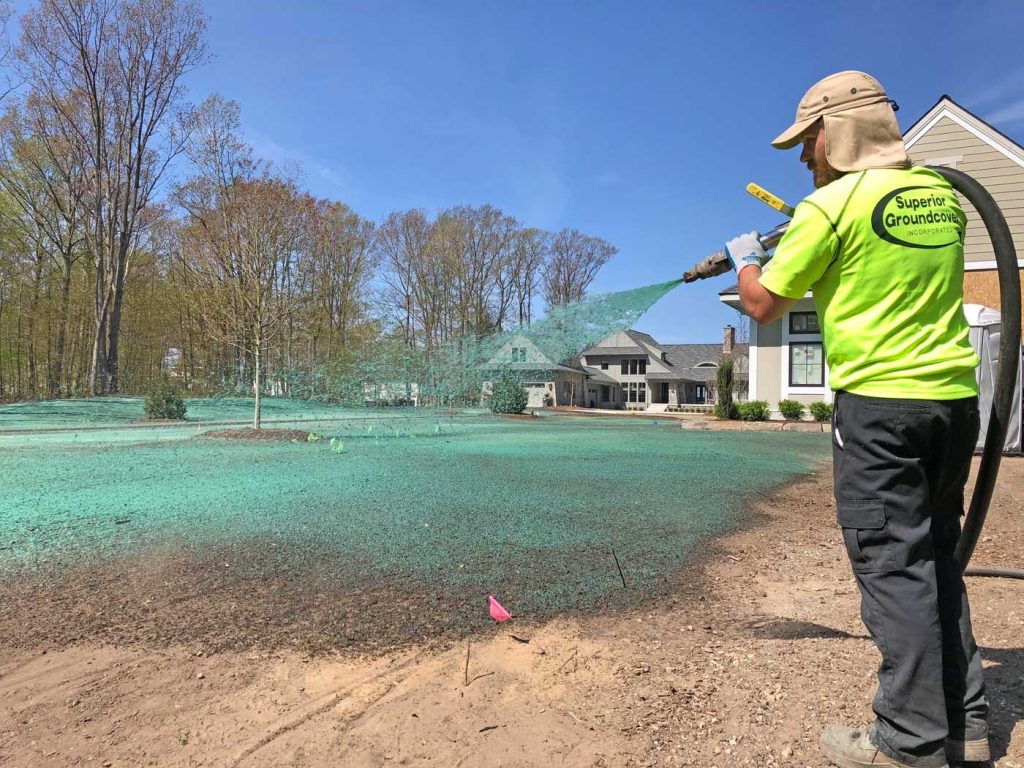
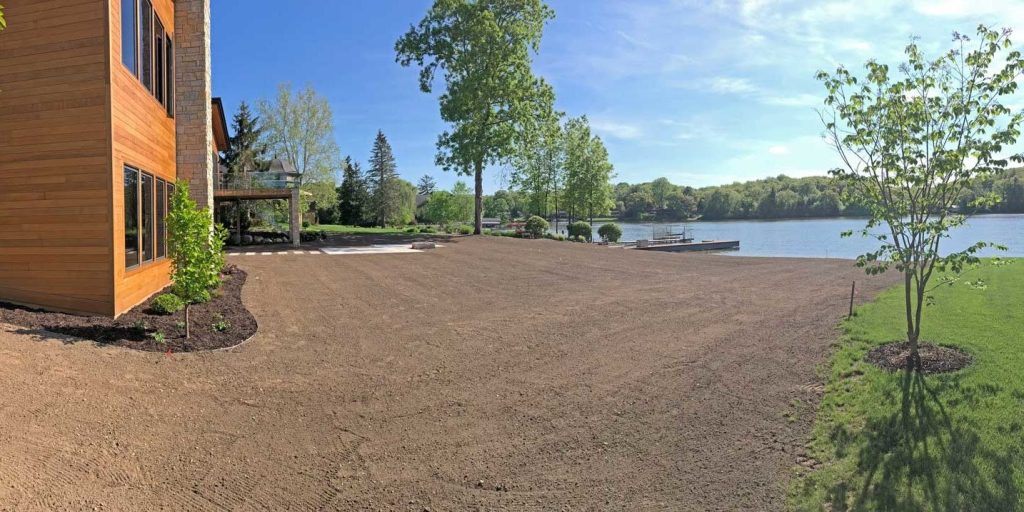
Proper soil and grading are necessary for premium turf establishment. Superior’s crew creates perfect growing environments each day using our state of the art equipment.
Spray your mixture.
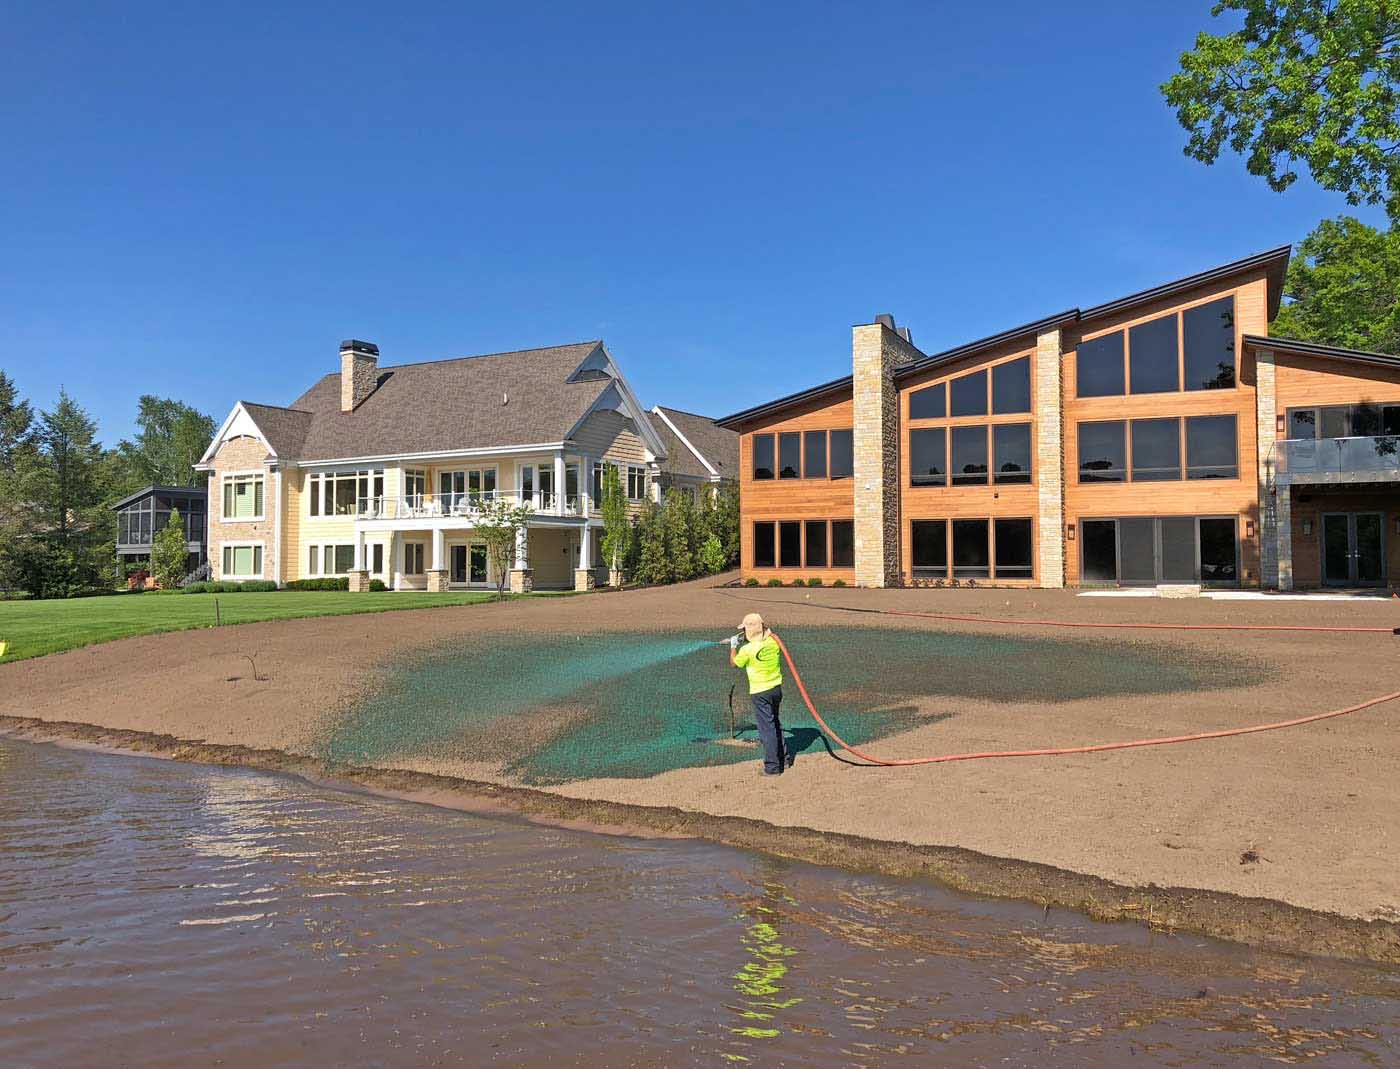
Keep the new lawn constantly wet for the next few weeks. Installing in the spring can help with this cost because of frequent rain. Prior to hydroseeding, keep an eye on the weather. Hydroseed can be washed away if there is too much precipitation.

Does it seem like a lot to do on your own? Don’t worry. The Superior Groundcover team has you — er, your exposed soil — covered! Our expert hydroseeding team has the right mixture and equipment to take care of your lawn, so all you need to do is relax on the porch with a drink and watch your lawn blossom into the best one on the block. Sound better than sweating over it yourself? Call us at (616) 669-7479.